Welcome to Paula's Organic Cleaning Services
WORKING HOURS : MON-SAT (8.00AM - 6.00PM)


26
26 JUN
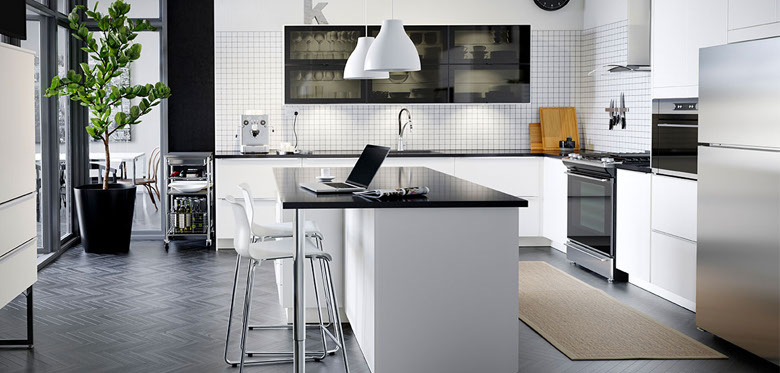
The Best Route to a Cleaner Kitchen
BY Stephanie Sisco,
TAGS CLEAN
1. Clear the counters of anything that doesn’t belong: straggling mail, cookbooks, permission slips awaiting signatures.
2. Fill the sink with hot water and a few squirts of dish soap. Drop in items that need soaking, like the crisper drawer, the dish rack, and the microwave turntable.
3. Empty the refrigerator, tossing anything that has expired. Throw dirty food-storage containers into the sink to soak. Working from top to bottom, wipe down the shelves with a paper towel or a rag spritzed with a nontoxic all-purpose cleaner.
4. Dust the high zones, knocking dirt and debris to the floor, where they will be swept up later. Using a telescoping duster, start right above the sink and work your way around the room, cleaning upper corners, light fixtures, and tops of cabinets. Don’t forget the top of the refrigerator. When you’re back at the sink, you’re ready to move on.
5. Clean the upper cabinets and anything else on the walls, including a mounted microwave. Spray the microwave interior with all-purpose cleaner and let sit for two minutes. With a damp, soapy cloth, wipe down the exterior. (If it’s stainless steel, use a cloth moistened with diluted white vinegar, instead of soapy water, to clean any fingerprints.) Next, wipe the doors and the pulls of the upper cabinets and anything else (frames, hooks, vent grates) you encounter as you circle the room. With a fresh damp, soapy cloth, wipe down the backsplash if you have one.
6. Back to the microwave. Your two minutes are up. Wipe the solution from the inside using a dry cloth. It’s OK if crumbs fall to the stove or the floor.
7. Spray the stovetop with all-purpose cleaner and let sit for a few minutes. For stubborn stains, add a powdered scrub that won’t scratch. We like Bar Keepers Friend ($5, amazon.com).
8. Load the dishwasher with the items soaking in the sink, or hand wash them. Don’t drain the sink just yet.
9. Wipe the stovetop with a clean, dry cloth and, again, just let crumbs fall to the floor. It’s more efficient to get them at the end. When you’re finished, swap out the cloth to keep grease from transferring to another surface.
10. Clean the coffeemaker, toaster, stand mixer, and other small appliances from top to bottom, using glass cleaner or a multisurface formula (spray the cloth rather than the appliance) or a cleaning wipe. Dip drip trays or crumb catchers in the sink’s leftover warm, soapy water, then rinse and dry.
11. Scrub the countertops with small, circular motions, using a cleaner formulated for your surface.
12. Get the fridge doors, the front of the dishwasher, and the oven with a cloth dipped in clean, sudsy water (or diluted white vinegar if a door is stainless steel). Pay attention to the handles and the edges. Use a soft toothbrush or a cloth-wrapped spatula to degrime tight spots, like the folds of the refrigerator seal. Next, clean the sides of the dishwasher door with an all-purpose formula or a cloth dipped in a solution of hot, soapy water and white vinegar. (You can use this mixture to clean the stovetop and the countertops, unless they are marble, granite, or some other porous stone.)
13. Clean the lower cabinets and drawers with a damp, soapy cloth.
14. Drain the sink and rinse with hot water. Buff the basin with a mild abrasive cleanser and a microfiber cloth; rinse with hot water. Wipe down the faucet and the handles.
15. Empty the trash, swiping the inside of the can and the interior of the top with a cleaning wipe before replacing the bag.
16. Sweep the floor with an electro-static dry duster, like a Swiffer Sweeper. Get right up to the baseboards and under the cabinets, where crumbs can hide. Pull out appliances to reach the spaces near the walls. Follow with a mop (or a steam cleaner, if you have one), starting at the corner farthest from the room’s entrance, and use a bucket. (Dipping a mop in the sink could contaminate items that ultimately end up in your mouth.) Dump the dirty water outside or down the toilet.
17. Park yourself on the sofa. You’re done!
The Best Route to a Cleaner Kitchen
This is our space to give useful advice when making cleaning
IMAGE GALLERY


POST CATEGORY
12
10 APR
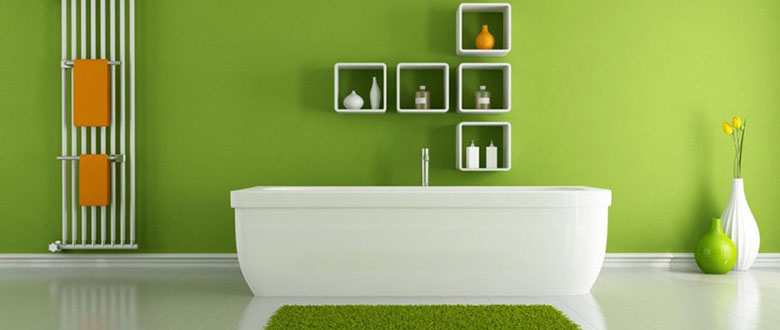
BATHROOM CLEANING SECRETS FROM THE PROS
BY Kathy McCleary,
TAGS CLEAN, SECRETS, BATHROOM
Step 1: Vacuum and dust
On the rare occasion that the W Union Square receives a complaint, "it usually has to do with finding hairs on the tile or floor in the bathroom," Erika says. Her team's goal is to make sure that never happens. They work from top to bottom, dusting light fixtures and shelves with micro-fiber cloths before vacuuming floors and crevices.
Step 2: Heat up surfaces
Heating tile and the tub just 10 degrees above the normal air temperature "doubles the effectiveness" of alkaline cleansers, Jenny says. Her staff fills the bottom of the tub with a couple inches of the "hottest water they can draw from the tap" and lets it sit for a few minutes. Erika's staff also throws hot water over the tiles, shower and tub.
Step 3: Spray
Drain the tub, then spray an antibacterial cleaner on tile walls, tub, counters, sink, toilet and floor. Work from top to bottom, starting at the top of shower walls, and spraying down to the tub and inside the toilet bowl.
Step 4: Spread
Use a sponge or cloth to spread the cleanser around evenly on tile surfaces.
Step 5: Sit
Disinfectants need contact time in order to work. Erika's team lets the cleanser sit for five to seven minutes inside the toilet bowl and on surfaces.
Step 6: Scrub
Use a scrub brush or nonscratch abrasive pad to scrub every square inch of the tub and tiles. Both housekeeping experts swear by Mr. Clean Magic Eraser, especially for hard-to-remove gray rings inside the tub.
Step 7: Rinse
This is the most important step, in Jenny's opinion. The chemicals in cleansers are designed to attract soil and particles, she points out. If you don't rinse after spraying your cleanser, dirt is going to stick to it and build up and "be even more troublesome."
Step 8: Dry
Use clean, dry cotton cloths or rags to thoroughly dry all surfaces. Jenny recommends using color-coded cloths for cleaning ? blue for glass and mirrored surfaces, yellow for the toilet, and pink for tub and sinks. That way, you never make the mistake of wiping off the sink with a cloth that was used to dry the toilet.
Step 9: Glass and mirrors
Spray the mirror and other glass with a glass cleanser and wipe dry.
Step 10: Floors
Exit out of the bathroom by rinsing, wiping and drying the floor.
HAVE ANY QUESTIONS OR WANT A FREE ESTIMATE?
CALL NOW: 703.839.2881
CLEANING SERVICES
PAGE LINKS
CONTACT INFO
Copyright © 2021 All Rights Reserved.


